Motorcycle Tires 101

In WRN's do it yourself (DIY) section, we cover simple, affordable check-ups you can easily perform yourself that will keep your motorcycle safe and running well. You can find your bike’s service intervals and important bike-specific information in what we like to call M.O.M. That's your motorcycle owner’s manual. M.O.M. always has the answer!
In this article we will cover one of the most important parts of your bike—tires. Your motorcycle tires are the only things that make contact with the road when you’re riding, so it’s important to take good care of them.
How to Inspect Motorcycle Tires (Before Every Ride)


Check the motorcycle tire pressure if you add a load or change elevation significantly and will be riding at the new elevation for more than an hour. For example, the difference between sea level and Big Bear Lake, California, is almost 8,000 feet and can be ridden in three hours.
Information on specs for motorcycle tire pressure will come from M.O.M. It might even be on a sticker on your bike's swingarm or frame.


How to Maintain and When to Replace Motorcycle Tires
If you find an offending object that is embedded in place, if the tire is not losing air, cautiously ride to the nearest shop for inspection. Whether it is leaking or not, you may be able to get professional help to remove the object and repair the puncture on site. You may also be able to apply a tire patch to get you to the shop without leaving you stranded.

If your bike’s tire pressure is high or low, simply release or fill with air until it is at the recommended pressure. It is normal for tire pressures to vary due to heat, elevation, and weather changes. So check often and maintain accordingly.


Other Things to Watch
The general rule of thumb for tread wear is that anything less than 3/32” or approximately 2mm means it’s time to replace your tire.


Keep an eye on the age of the tires. Every DOT tire has an age stamp on the sidewall, indicating the week and year of manufacture.

A guaranteed safe age is less than two years for sport tires and less than three years for touring or cruising tires. This will change significantly between manufacturers and how you treat and store your bike. So use this information as a basic guide.
If your tire is beyond its age limit and you’ve confirmed this with the manufacturer, replace it. You never know what the inside of the tire looks like and dry rot can be an invisible danger.
If you find that you only need to replace one tire, you need to replace it with the same make and model of the tire. Tire tread patterns are engineered to work together, and mixing two different tread patterns and compounds can cause a dangerous situation. And please, for the love of riding, always select a motorcycle-specific tire!
How to Replace a Motorcycle Tire in Four Simple Steps
Do not get overwhelmed by the overly-complicated size, load rating, speed rating, and compound explanations you might find on many online tire guides. What you really need to know can be explained in a few simple steps.
- Determine the rim size, front and rear, and motorcycle weight. M.O.M. has the answer, unless your bike’s wheels have been changed from the OEM standard equipment.
- Determine your riding style: adventure, sport, touring, commuting, cruising, etc. Most manufacturers make a tire for every situation imaginable.
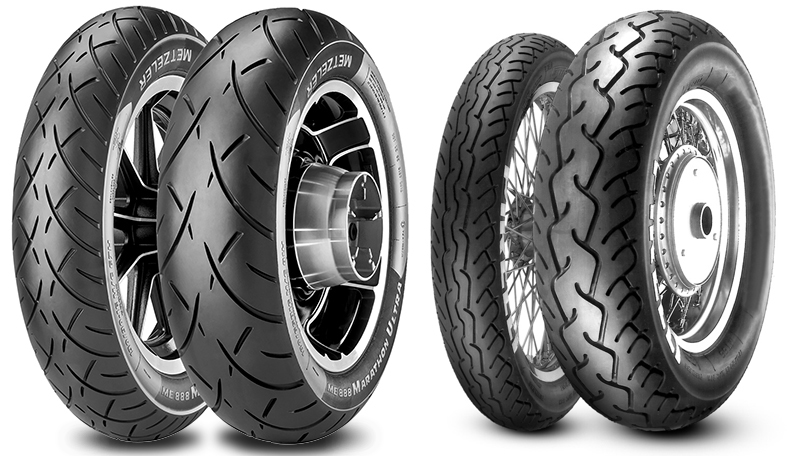
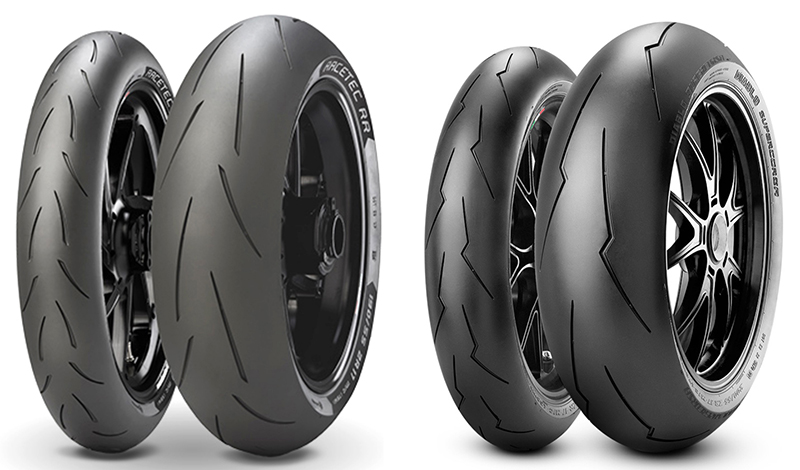
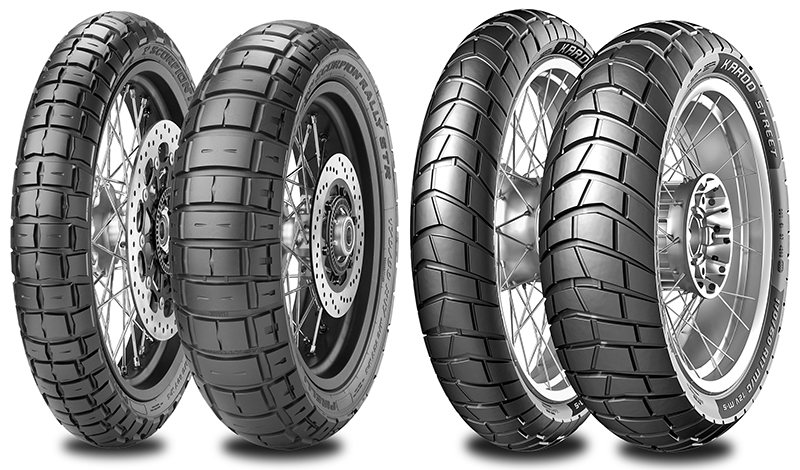
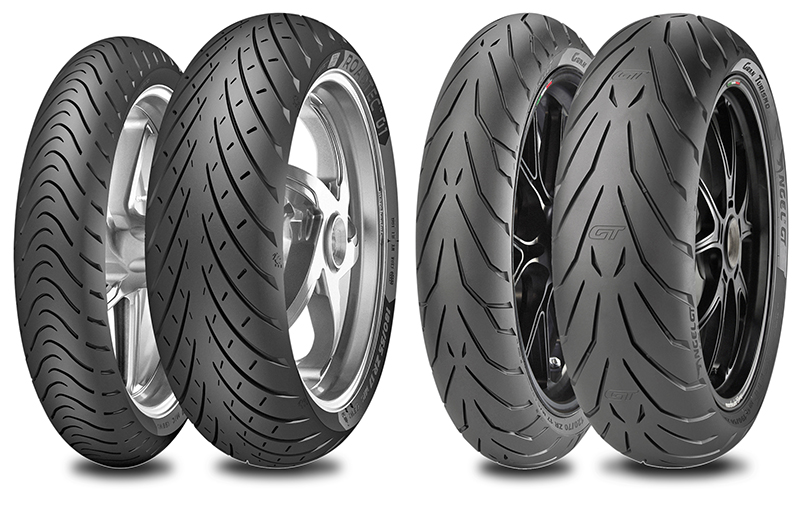
- Determine the most important feature to you. Do you want a tire that will last the longest, have the best traction, perform in rain or dirt? You can find descriptions for what all these features mean right on the manufacturers’ websites. We’ve included a few examples below.
- Search for tires available in the correct size and style that focus on your top priorities. The best way to do this is to combine online research and advice from your local shop. Asking for help is a great tool, just always consider the source.


Falling prey to price: Online deals can seem too-good-to-be-true and are hard to pass up. Keep in mind, tire bargains from a warehouse could indicate a batch of old tires that they want to get rid of.
Glossary of Terms
Longevity: meant to last as long as possible, usually requires a hard compound that heats up slower and doesn’t “melt” or wear down as quickly. Great for touring and cross-country riding.
Aggressive Profile: meant to maximize traction at excessive lean angles. Great for racing.
Multi-Surface: meant for riding both on and off the street with a ratio represented in percentages. For example, 70% street, 30% dirt. Great for exploring the wild outdoors.
Multi-Compound: meant to combine longevity (commuting or touring) and traction (curvy roads) by making the tire from rubber that is harder in the center and softer on the edges. This means certain parts of the tire heat up faster/slower and have more/less traction and flex. Great for riders who commute every day and hit the twisties on their days off.
Like the saying goes, keep the rubber side down!
I love these DIY articles. They are so helpful and enlightening. We all should know how to care for our motorbikes. Thank you!